Accent Wall Checklist: Plan, Prep, Paint Like a Pro
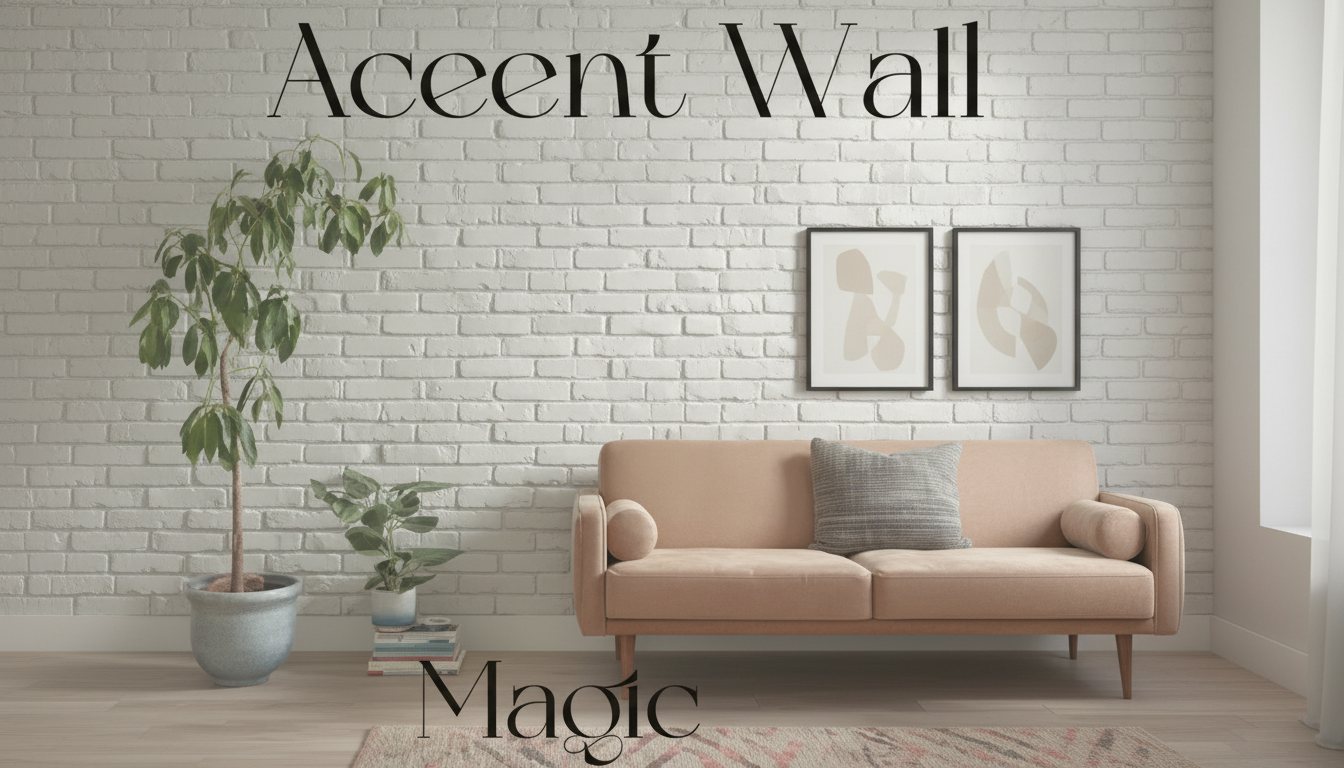
Accent Wall Magic Checklist: A Pro-Style Plan for a DIY Makeover
An accent wall can sharpen a room’s focal point, fix “something feels off” spaces, and add personality without a full repaint. The difference between a polished result and a patchy weekend project usually comes down to planning: picking the right wall, choosing a finish that suits the room, and preparing surfaces so paint (or paper, or panels) looks intentional. Use the checklist approach below—from deciding on the wall to final styling—so the finished accent looks balanced, clean-edged, and built to last. For more guidance, see DIY accent wall – an affordable way to elevate any room! Let me ….
Start with the right wall (the “why this wall?” test)
- Choose the wall your eyes land on first when you enter the room. Behind a bed, sofa, fireplace, or built-ins is usually the easiest win.
- Avoid “busy” walls chopped up by multiple doors and windows—unless the trim, casing, or shapes are part of your design plan.
- Use the furniture anchor rule: the accent wall should support the room’s main furniture piece (headboard, sectional, dining table area), not compete with it.
- Think in proportions: darker or high-contrast accents visually bring a wall forward; lighter accents can help a narrow room feel wider.
Choose an accent style that fits your space and time
- Paint: fastest and most forgiving; great for beginners and many rentals (with landlord approval).
- Wallpaper: huge impact with pattern; plan for repeat matching and an extra roll so you’re not hunting for dye lots later.
- Wood slats/paneling: adds texture and depth; demands precise measuring and level lines.
- Color-blocking or arches: bold, modern focal point; looks best with simpler decor around it.
- Pick one hero element: if the wall is patterned, keep bedding/sofa textiles calmer (and vice versa).
Quick pick guide: match the method to the room
| Room/Scenario | Best Accent Options | Why It Works | Watch For |
|---|---|---|---|
| Bedroom | Paint, wallpaper, slats behind headboard | Creates a clear focal zone | Busy patterns competing with bedding |
| Living room | Paint, color-block, fireplace surround highlight | Frames the seating area | TV glare and overly glossy finishes |
| Dining room | Wallpaper, deep paint, wainscoting | Adds drama for gatherings | Insufficient lighting with very dark colors |
| Small room | Mid-tone paint, subtle pattern, vertical slats | Adds interest without shrinking the space | High contrast can feel tighter |
| High-traffic (hall/entry) | Washable paint, durable paneling | Handles scuffs and fingerprints | Matte paint can mark easily |
Color and finish decisions that look “designer”
- Pull from what you already own: choose a color found in your rug, artwork, or throw pillows so the accent feels integrated.
- Check undertones twice: compare samples in daylight and again at night under your actual bulbs to avoid surprise green/blue/pink shifts.
- Pick the right sheen: flat/matte hides wall flaws; eggshell/satin wipes cleaner; semi-gloss looks crisp but highlights imperfections. For deeper guidance, see Sherwin-Williams’ paint sheen guide and Benjamin Moore’s paint finishes overview.
- When in doubt, mute it slightly: a softened version of the color you love often looks richer on a full wall than on a tiny paint chip.
Measure, plan layout, and protect the room
- Measure width and height and note obstacles like outlets, vents, thermostats, and return grilles.
- For wallpaper/panels: sketch a simple layout and mark a center line so the pattern lands symmetrically (especially behind beds and sofas).
- Clear and cover: move furniture away from the wall and protect floors with a drop cloth; tape baseboards if your edging skills are still in training.
- Remove covers and hardware: take off outlet/switch plates and label screws in a small bag for quick reassembly.
Prep like a pro (the step people regret skipping)
If you want a straightforward, print-and-check approach while you work, keep a copy of the Accent Wall Magic Checklist (digital printable) on your phone or printed on paper so steps don’t get skipped mid-project. For further reading, see 10 Creative DIY Accent Wall Ideas – Thistlewood Farm.
Execution checklist: paint, wallpaper, or slats
Paint (fastest route to a clean focal point)
Wallpaper (pattern payoff, but measure twice)
Wood slats/paneling (texture that looks custom)
Style the finished wall so it looks intentional (not accidental)
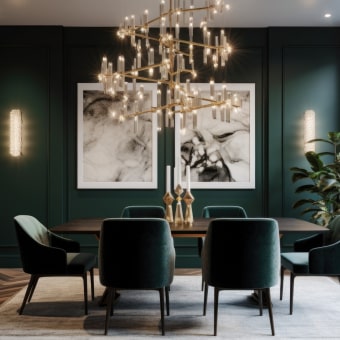
For a dining room refresh, pairing a dramatic wall with substantial furniture is an easy way to make the update feel “complete.” A cohesive anchor like this 7-piece dining set with extendable 63″ table and 6 modern chairs can help the accent wall read as a designed backdrop instead of a standalone paint job.
Printable checklist for a smooth weekend makeover
- Decision: choose the wall + style (paint / wallpaper / panels) and confirm it supports the room’s main focal point.
- Materials: measure, buy supplies (include extra for touch-ups), and gather tools before starting.
- Prep: clean, patch, sand, prime where needed, and protect floors/trim.
- Install/paint: follow a consistent sequence and allow proper dry times between steps. For a reliable refresher on paint prep and technique, reference This Old House’s room painting guide.
- Finish: reinstall covers/hardware, touch up edges, and style with repeat accents and lighting.
FAQ
Which wall should be the accent wall in a bedroom or living room?
Choose the wall that naturally anchors the main furniture (the headboard wall, sofa wall, or fireplace wall). Avoid the most broken-up wall unless you’re intentionally designing around doors, windows, or standout trim details.
Do accent walls need to be darker than the other walls?
No. An accent can be lighter, patterned, or textured—the goal is contrast through color, finish, material, or shape while still coordinating with the room’s palette.
Is primer necessary for an accent wall makeover?
Primer is recommended for stains, glossy paint, large patches, or big color changes. It improves adhesion and helps the finish coat look even and consistent.













Leave a comment